
Finger Knitting, iCord and Arm Knitting
Finger knitting and icord knitting produce the same kind of long, thin rope of 'plaited' yarn.
Jump to the bottom of this post for links to video tutorials on how to finger knit, icord and arm knit.
Knitted icord rope.

Jump to the bottom of this post for links to video tutorials on how to finger knit, icord and arm knit.
Knitted icord rope.
 |
Here are the main differences between the two.
The icord is knitted with double pointed needles into a closed tube. Knitting over three or four stitches, you can choose what size needle you use and what weight of yarn, so there's room for a wider variety of expressions. You can easily put your work down and pick it up again.
Finger knitting is a three or four stitch, flat strip that curls, the way all stocking stitch work curls. This curl gives the illusion of a tube. With finger knitting, you're limited to the size of your fingers! You can still vary the weight of the yarn, but a very fine yarn, for example, would result in a very loose knit. With finger knitting, it's not so easy to put down your work, and finding a way to hold the live stitches is something to consider.
The end result, though, is pretty much the same. The finished rope can be used as it is or incorporated into other projects in a variety of ways. Here are some examples.
(All of the following images are sourced from the net, using 'icord'.
All images should have a click through link.)
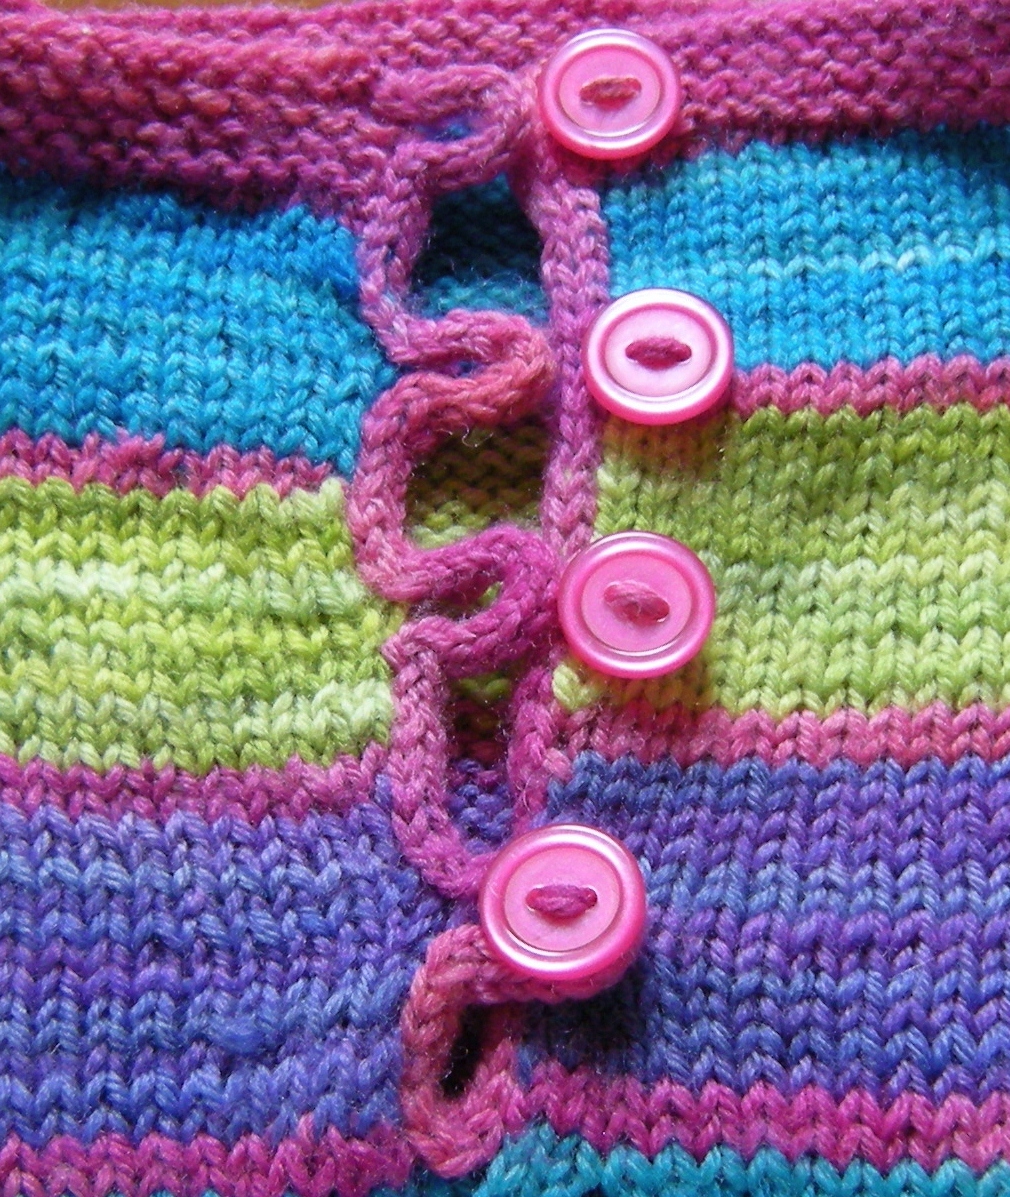
The edge of a garment.
The handles of a bag.

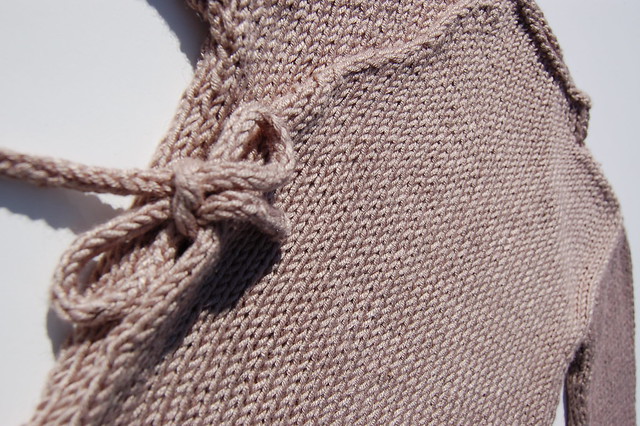
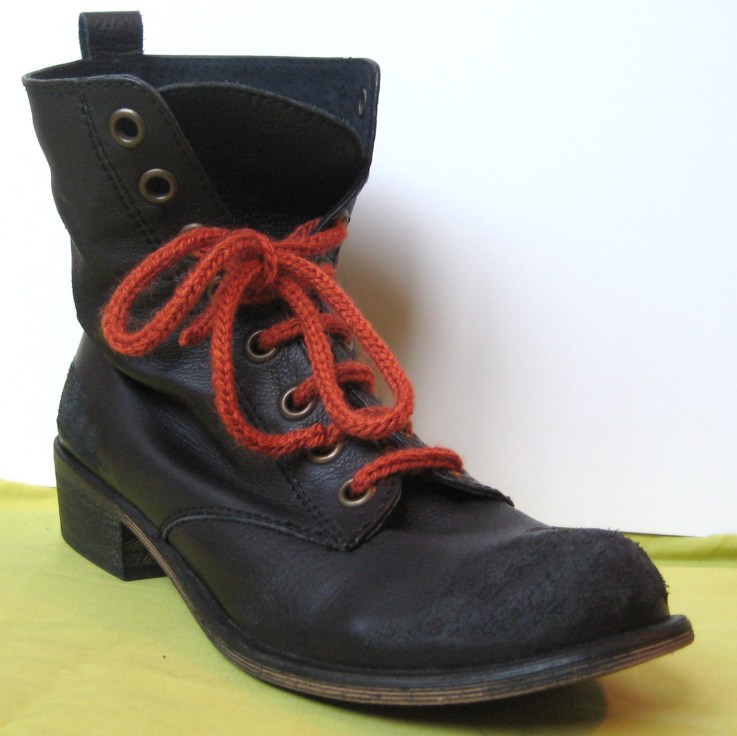
Straps to tie something on/closed.
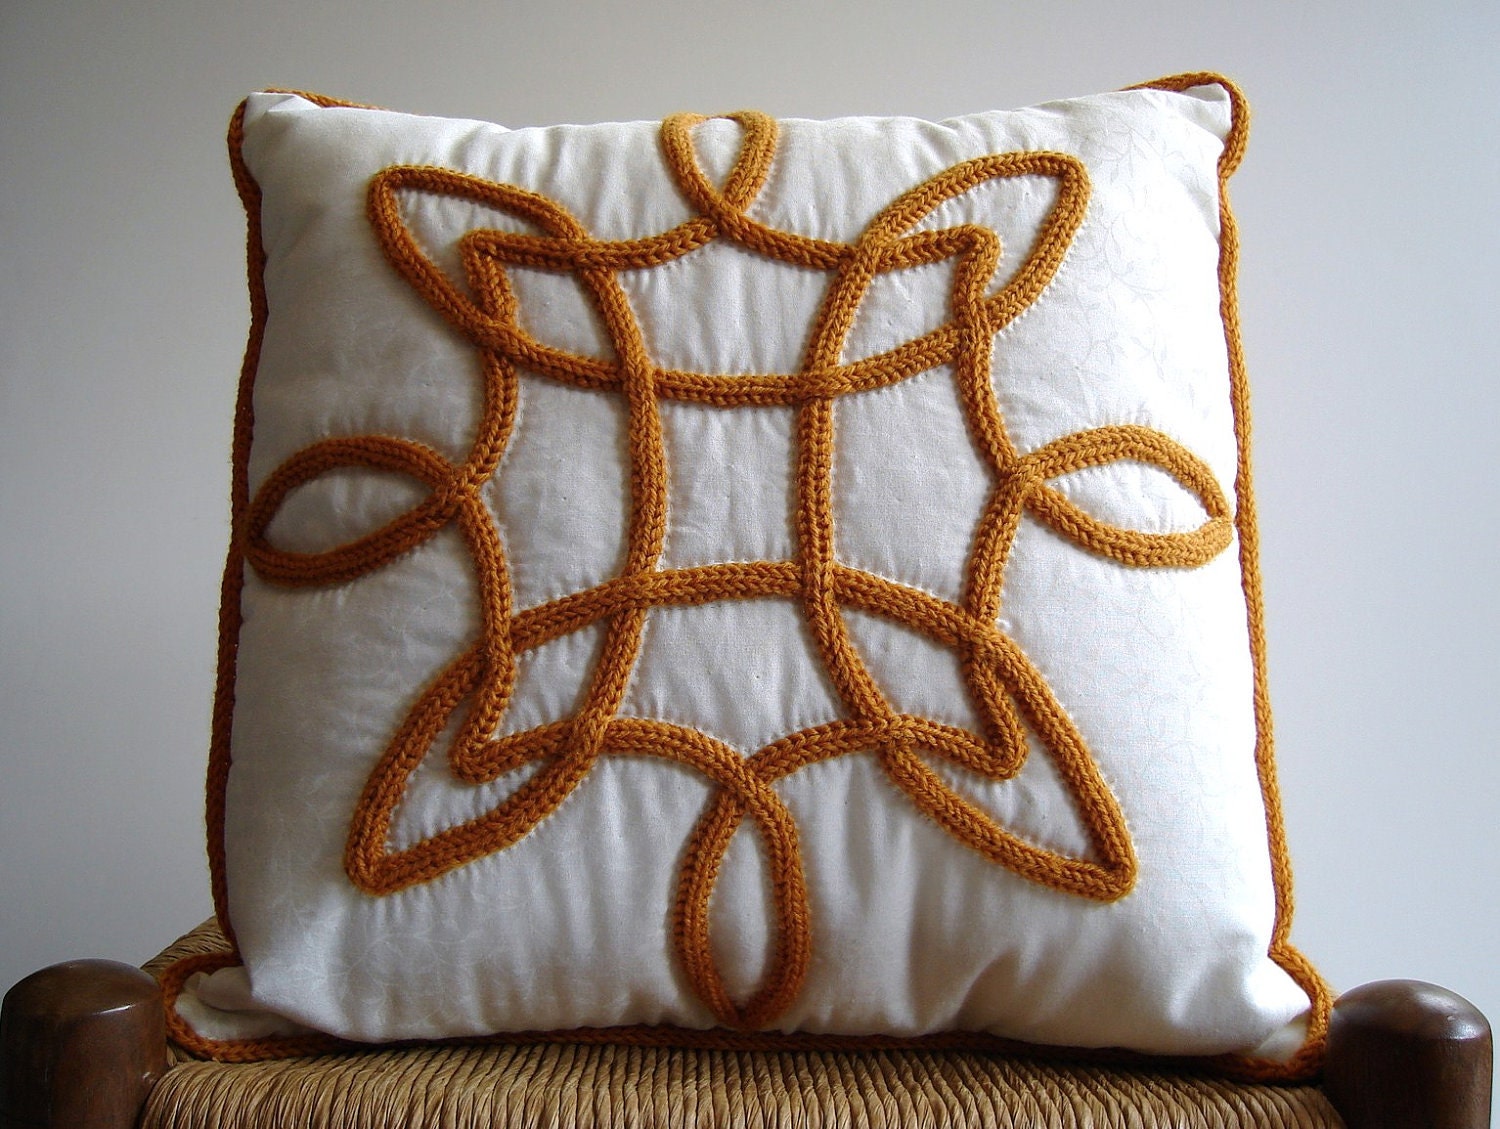
As a decorative feature.

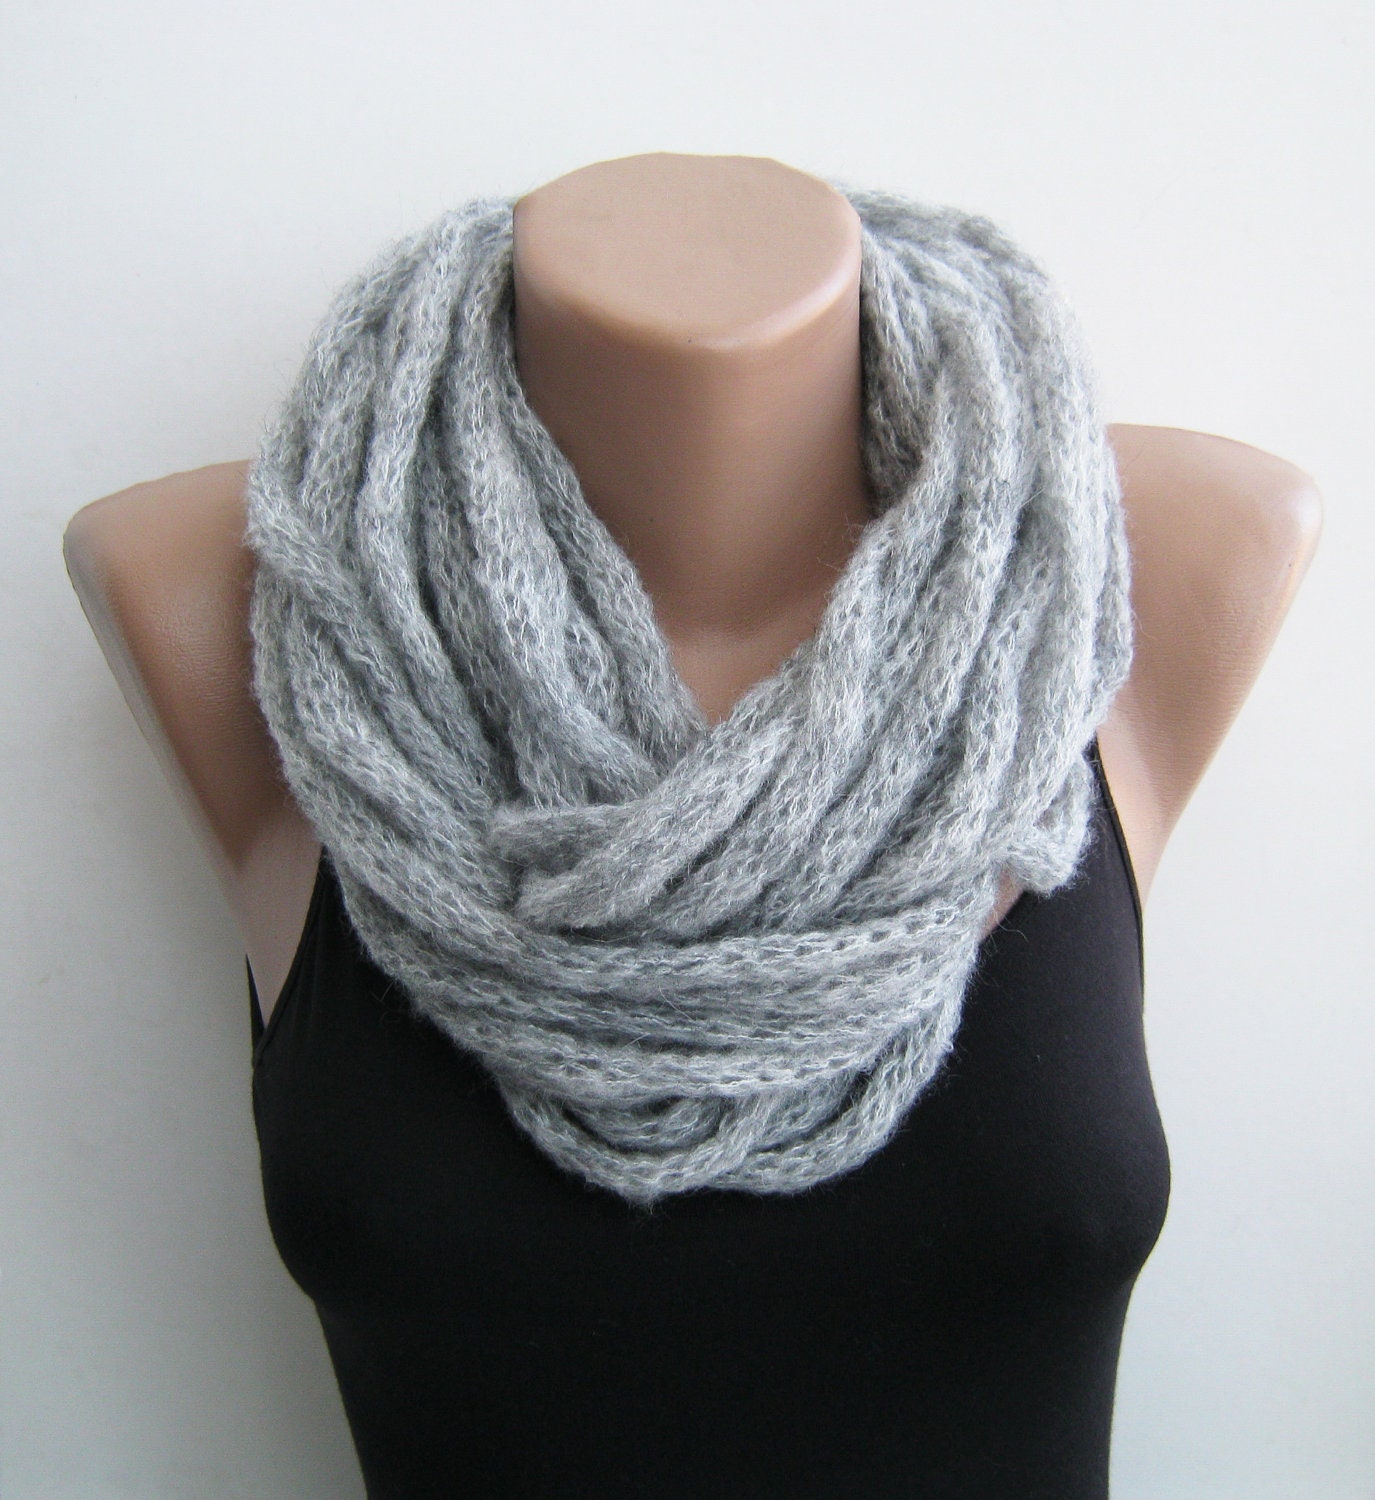
It can also be used alone as a scarf.
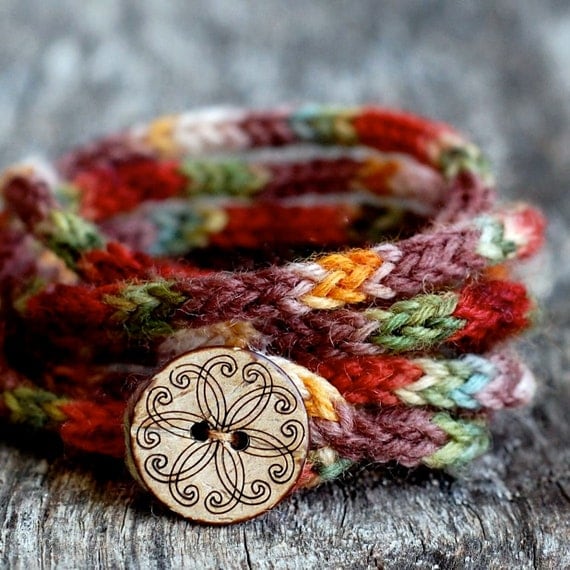
Even jewellery!
 |
The possibilities are endless!
My favourite use of the finished product, is to knit it again, using arm knitting.


Here are the best video tutorials I've found demonstrating finger knitting, icord knitting and arm knitting!

Comments
Post a Comment